


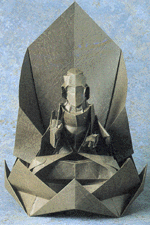
source : Origami Tanteidan Convention #6 by Takashi Hojyo
After studying basic folds and symbols, the goal of this section is to show you
more complicated folds (but not too difficult :)) and some particular folds which are called bases in origami.
Level 2 : Bases and intermediate folds
The squash fold
Open the paper (step 1) then make it flat (step 2 and 3).

The petal fold
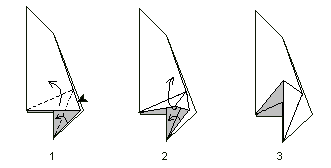
Open the paper while making the lower point going up (step 1),
then make the 2 opposite points meet each other -the lower point still goes up- (step 2),
then flat the layers (step 3).

The crimp fold
Below are 3 kinds of crimp fold.


The open sink fold
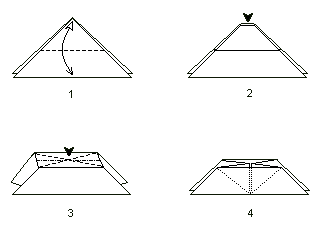
The swivel fold
The rabbit ear fold
The bases
The bases described below are often used to begin a model.
It is very important to know how to fold theses bases because a great number of diagrams start with one of these bases,
assuming that the folder know how to fold it.
The preliminary fold

The water bomb base

The kite base

The fish base
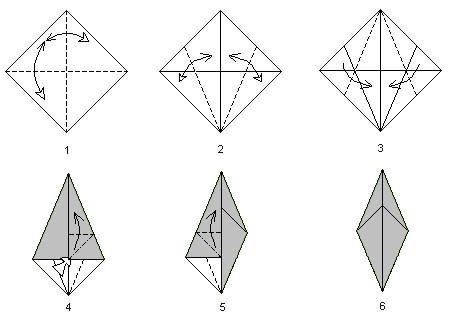
The bird base
Start with a preliminary fold.
Mark the valley folds as shown (step 1 and 2).
Do a petal fold (step 3).
Do steps 1 to 3 behind (step 4).
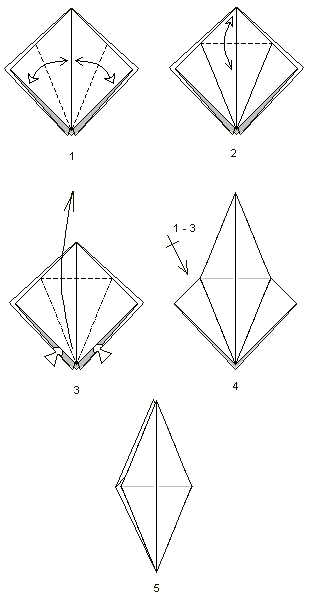
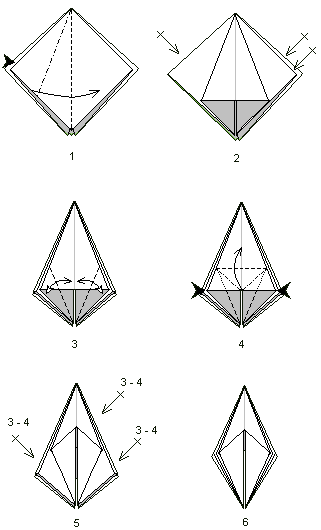
The frog base
Start with a preliminary fold.
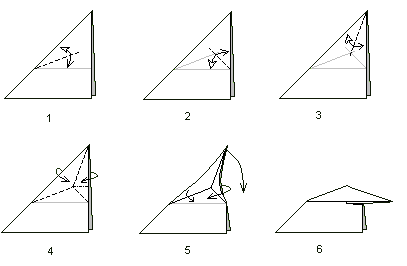
Make a squash fold (step 1).
Repeat on the 3 other points (step 2).
Make a petal fold (step 3 and 4).
Repeat on the 3 other sides (step 5).
Great ! You know bases and intermediate folds, you can now practice with intermediate diagrams.
When it will be done, go to the next level !


